
Getting a flawless base makeup look can feel impossible. We’ve all been there. Spending time and money on products that just don’t deliver.
You want that smooth, even finish, but it often seems out of reach.
I’ve tried countless products and techniques, so I get it. The right base can make or break your entire look. You can’t afford to waste your time on gimmicks.
In this article, I’ll break down the essentials you need for a perfect base. You’ll learn about the key products, application techniques, and common mistakes to avoid. I’ve consulted experts and tested everything myself to give you reliable takeaways.
If you’re tired of your makeup looking patchy or uneven, I promise you’ll find effective tips here. Get ready to achieve that radiant, smooth look you’ve been dreaming of. Your skin deserves it. !
Your Skin’s Perfect Canvas: Prep Like a Pro
Listen, I can’t stress this enough: the secret to flawless base makeup starts before you even touch your foundation. Proper skin prep is the non-negotiable first step (no shortcuts here). Ever wondered why your foundation clings to dry patches or vanishes by noon?
You’re probably skipping the essentials.
Start clean. You need a gentle yet effective cleanser. One that strips makeup and grime, not your natural oils.
Your face should feel refreshed, not tight. Now, let’s talk exfoliation. Gently scrub away dead cells, but don’t overdo it.
Whether you choose a physical scrub or a chemical one, tailor it to your skin type for the best results.
Hydration is key, my friend. Choose the right moisturizer. If your skin’s oily, go for something light and oil-free.
Have dry skin? Opt for something richer. Whatever you pick, let it soak in.
Nothing ruins makeup faster than a greasy residue.
Primers extend wear and smooth texture. Are you dealing with shine? Grab a mattifying primer.
Looking to blur pores? There’s one for that too. Choose wisely.
Pro tip: give each product a minute to absorb before layering the next. Trust me, your foundation will thank you.
Perfect Match: Foundation Type, Finish, and Shade
Choosing the right foundation is like finding your soulmate for your skin. It’s all about achieving that flawless base makeup. You want it to look like skin, not like you’ve caked on layers of product.
So what’s the secret? Understanding your options is key.
Liquid foundations are versatile, great for almost any skin type. They blend easily and offer buildable coverage. Cream foundations, on the other hand, are perfect for dry skin.
They hydrate and give a dewy finish. If your skin’s oily, powder foundations might be your best friend. They help control shine all day long.
Stick foundations? They’re convenient for on-the-go touch-ups.
Now, let’s talk finishes. Matte is great for oily skin, while dewy gives a fresh, youthful glow. Natural finishes?
They work for anyone wanting a minimalistic look. Satin combines the best of both worlds (and who doesn’t like a good compromise?).
Shade matching is key. Test shades on your jawline in natural light, wait for it to dry to check for oxidation. Identifying undertones.
Cool, warm, neutral (helps) avoid mismatches. And please, match your face and neck for a smooth look. Need help with contouring too?
Check out these Contour Hacks Face Shape.
The Right Tools for the Job: Brushes, Sponges, and Fingers
Choosing the right tool for applying foundation can make or break your look. Does it really matter? Absolutely.
Here’s why.
First up, brushes. They’re the go-to for many, and for good reason. Different types serve different purposes.
A flat top kabuki brush is your best friend for full coverage. It packs on the product and gives you that polished finish. Want something lighter?
Reach for a stippling brush. It helps achieve an airbrushed effect without caking on product. Buffing brushes are somewhere in between, ideal for blending and smoothing.
Sponges are next. Here’s a pro tip: always dampen your sponge. It helps in achieving a natural, dewy finish.
Use a bouncing or dabbing motion. Avoid dragging. This presses the foundation into the skin, blending seamlessly.
Then there are your fingers. Surprised? They’re great for sheerer coverage or targeting specific areas.
The warmth from your hands can melt the product beautifully into the skin.
Don’t forget hygiene. Regular cleaning of brushes and sponges is non-negotiable. It keeps bacteria at bay and ensures a smooth, streak-free application.
After all, who wants breakouts when you’re aiming for flawless base makeup?
Mastering Makeup: Achieve Flawless Coverage
to flawless base makeup. It all begins with the right amount of product. Seriously, start small.
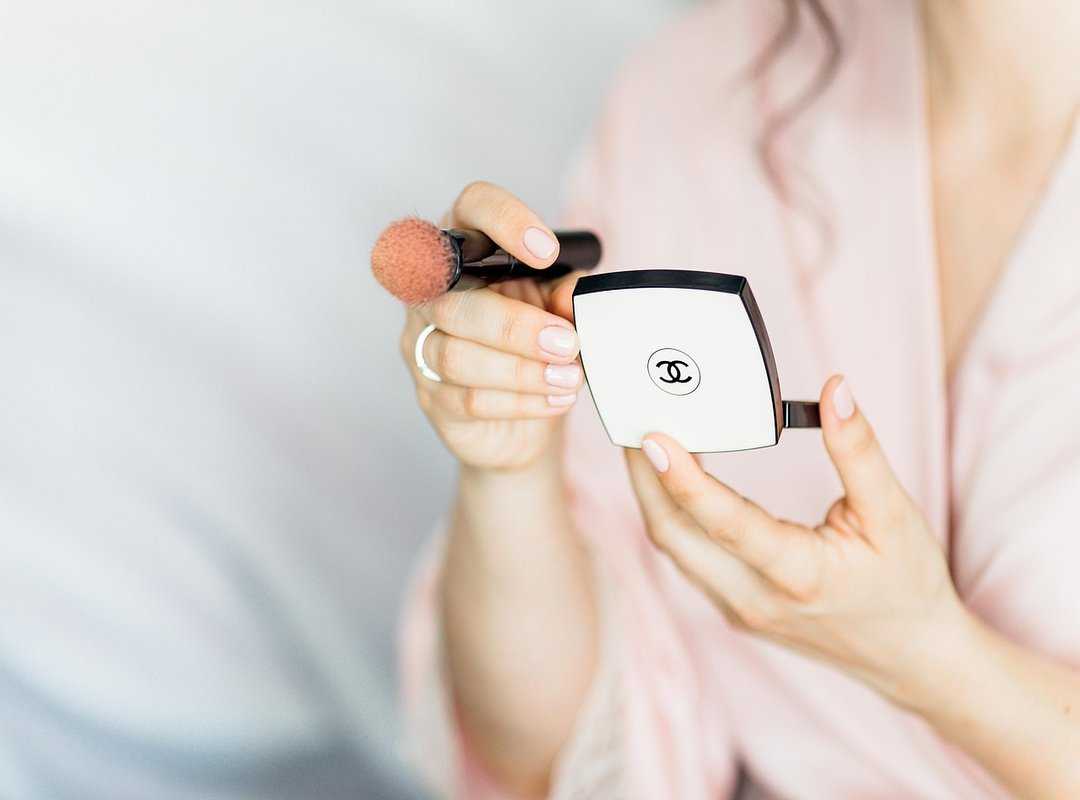
Dot your foundation on key areas: forehead, nose, chin, and cheeks. You’d be surprised how little you actually need. This way, you build coverage gradually, not all at once.
Now, blending. It’s your best friend. Whether you love a brush, sponge, or your fingers, each tool has its own vibe.
I prefer buffing with a brush for a smooth finish, but stippling with a sponge is golden too. Pressing foundation outwards from the center of the face ensures it melds perfectly into the skin. No harsh lines here, thank you.
Don’t skip the key zones: hairline, jawline, and neck. Neglect these, and you’ll look like you’re wearing a mask (not cute). Be meticulous.
Blend like your life depends on it.
Avoid common pitfalls. Rubbing or dragging? Disaster.
Slapping on too much product? Even worse. And, please, blend those edges.
They’re the difference between natural and… not.
For those spots needing extra help, layer a second thin coat. Trust me, targeted coverage keeps things natural. Want more tips?
Check out how to create your perfect base. It’s all about understanding your tools and products. Practice makes perfect, and soon, you’ll have your flawless base down to an art.
Setting and Finishing: The Key to a Flawless Base
Let’s get real about setting your foundation. Skipping this step? Big mistake.
It’s like having a movie without an ending. You want your makeup to last, right? Using a light hand with a translucent or finely milled tinted powder is key.
Focus on the oily T-zone with a brush or puff to prevent cakiness. Trust me, less is more.
And don’t even get me started on setting sprays. They lock everything in place. Whether you want a mattifying, dewy, or hydrating finish, it’s all about technique.
Hold it at arm’s length and mist in X and T shapes. You’ll thank me later.
For touch-ups, blotting papers or a light dusting of powder will control shine without disturbing your foundation. And the final check? Always examine your foundation in natural light.
It’s the ultimate test to make sure everything’s blended and even.
Speaking of perfection, ever thought about perfecting cat eye look? It’s all in the details, just like achieving a flawless base makeup.
Your Path to a Flawless Finish
You’ve got the tools now to achieve that flawless base makeup you always wanted. No more frustration over uneven application.
The steps I shared are tried and true. Proper skin prep, smart product choices, the right tools, and practice make a difference.
I want you to experiment with these techniques. Find what feels right for your unique skin.
Embrace the confidence that comes from a beautifully applied foundation.
Ready to boost your natural beauty? Start now. Your radiant self is waiting for that perfect finish.
Call or reach out to get started.